Add Client
The Add Client tab in Stack Console allows administrators to register new clients with customizable billing, payment, and account settings. Follow these steps to add a client manually.
Accessing the Client Registration Form
- From the left-hand menu, expand the Clients drop-down.
- Click Add Client to open the registration form.

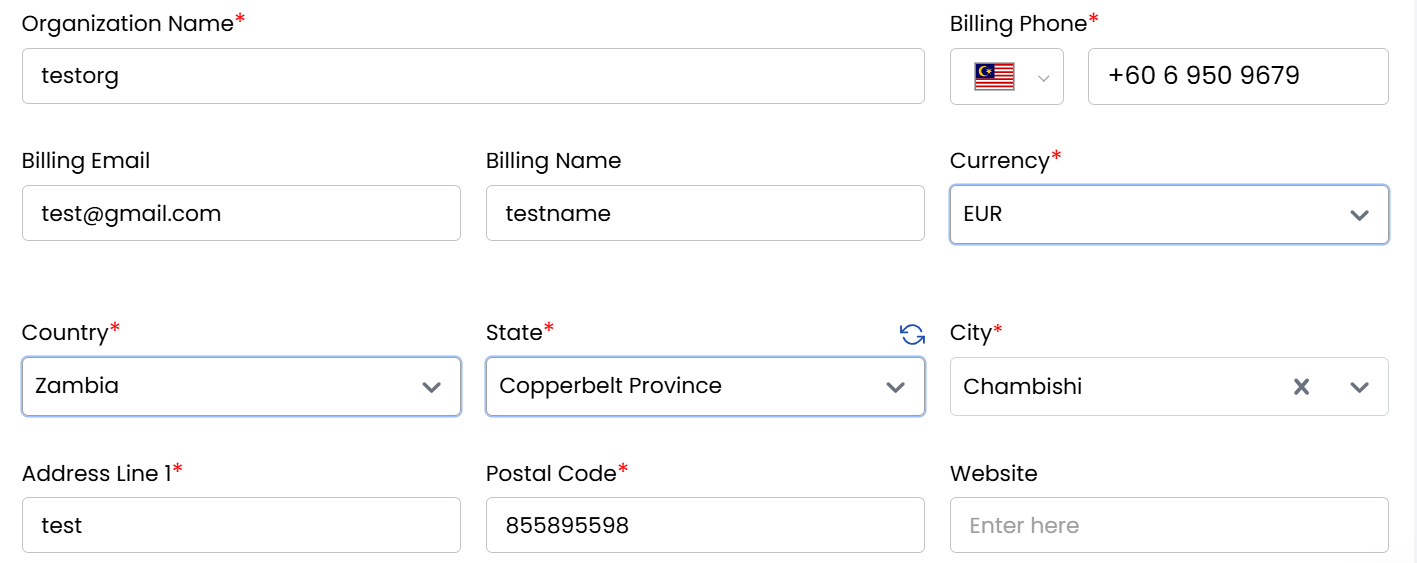
Setting Up Billing Details
-
Enter the Name, Email and Password. You can ask Client to Set Password on first login or generate a secure password automatically.
-
Setup billing address and details. You can register the client as either:
- Organization: For businesses/companies (requires tax ID, company address)
- Individual: For personal accounts
-
Choose one of the following payment options:
- Prepaid: Client pays upfront for services
- Postpaid: Client is billed after service usage
- Manual: Payments processed offline (e.g., invoices, bank transfers)
-
Set the status of the client based on their current standing:
- Active: Grants full access to services
- Inactive: Temporarily disables the account
- Closed: Permanently deactivates the account

- Navigate to the Price Card section. Select the client's Rate Card to define service pricing
- Review all entered details and click Register to submit
- After successfull registration, the client details are saved and an automated email (if enabled) is sent with account credentials.
Conclusion
Adding a client through the Stack Console ensures a structured and traceable onboarding process. Each step from entering client information to setting billing options and helps streamline client management and supports efficient service delivery.